


Testing on multiple mobile devices is costly, time consuming and the default Android emulator is notoriously slow. So, what should we do? That’s easy – start using a properly fast Android emulator.
When developing Android applications, you have to keep in mind all the different Android OS versions and various screen sizes and resolutions. The main objective before releasing an application is to find bugs and design imperfections.
Default Android emulator
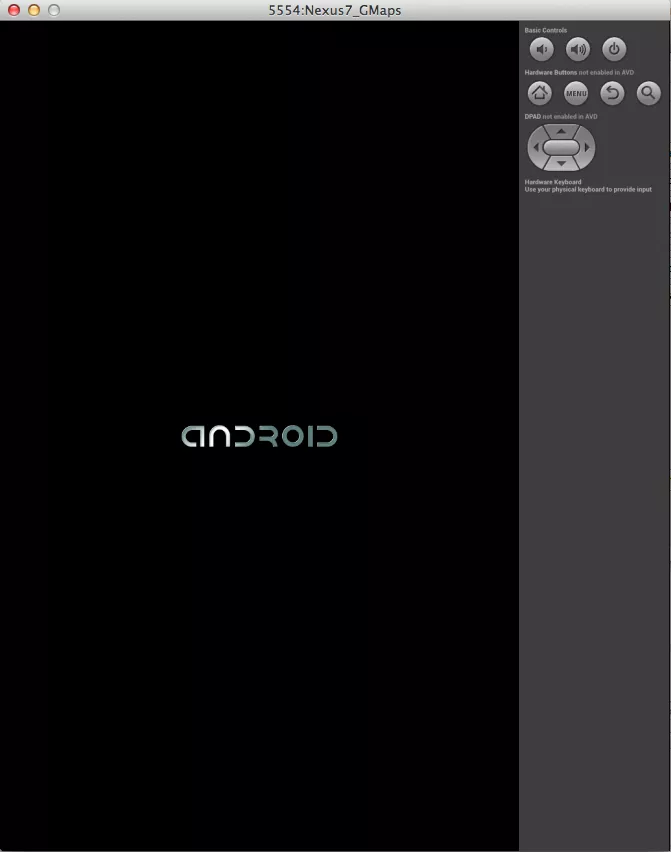
The great thing about using an emulator for development is that it gives you an opportunity to develop applications without having a real Android device. The default Android emulator comes together with the Android SDK and can be found in the “tools” folder.
So far so good, we have our cake, but can we eat it? The answer comes about 5 minutes after we hit the “Launch” button. Go grab a coffee. Have breakfast. Come back. Wait another 5 minutes. Maybe even more.
Finally – the emulator launches, only to show how slow it actually is.
All these performance problems stem from the fact that it emulates an ARM processor so it can run the actual code of your application. It accomplishes that by providing dynamic binary translation of the device machine code to the OS and processor architecture of your development machine.
Basically, it does a lot of mumbo-jumbo to pretend it’s an ARM processor – when actually it isn’t.
OK, it’s slow. So what can we do about it?
- Well, first, we can help our CPU out by delegating the rendering process to the GPU by checking ”Use Host GPU” checkbox in AVD’s edit window. The screen should now look better and be more responsive. That’s because the CPU is not dealing with the tedious work of doing rendering anymore. But, that’s still not fast enough.

- We can download Intel Atom (x86) images and, while we’re at it, download Intel x86 Emulator Accelerator (HAXM, for Mac and Windows only). This will enable virtual machine acceleration capabilities of the Intel CPU (for more information check this link).
Now we’re getting somewhere, once this baby starts up, it should run fast and smooth.

You could say that this level of speed should be sufficient. That may be true, but an issue with the Intel x86 images is that you don’t get Google Apps, they only come with ARM images. This is important if you’re testing an app that uses GMaps, or Google Play Services.
So, as we’ve seen, ARM images aren’t fast enough even with hardware acceleration. And emulators don’t have the Play Store. What now?
Genymotion by Genymobile
Genymotion is a new, fast Android emulator developed by the French company Genymobile. It’s based on the open-source project AndroVM, and the first beta version was released back in June.
It runs on all major platforms (Mac, Windows, Linux). For now it’s freely available, but there is also going to be a paid version.
According to AndroVM blog, the free version will be feature-rich, and the paid version will be intended for large companies needing a higher level of collaboration on Genymotion.
How to use it?
Genymotion relies on Oracle VirtualBox to work (version 4.1 or above). So…
1
Download and install VirtualBox. For Windows users it’s not necessary to install VirtualBox separately, because it is available from the Genymotion emulator.
2
Go to Genymotion website and sign up. You’ll receive a validation mail, so just click on the validation link to proceed.
3
Download and install the Genymotion emulator (the current version is 1.1.0).
4
Start Genymotion. You might need to configure path to your Android SDK location in Genymotion settings (probably if you’ve installed SDK in a non default location). Since this is a first start, there are no devices. Click on “Add” and download new device. To see available devices, write your credentials in the pop-up dialog and click “Connect”.
5
Select the device and click “Start”.
It starts quickly and is insanely fast! It’s a little awkward to start the emulator separately, but Genymotion provides Eclipse and Android Studio integration through plugins, also available on Genymotion website. To use the plugin, you have to provide a path to Genymotion installation and Android SDK, as well.

OK, it’s fast. Is that it?
Well, for me, the sheer speed of Genymotion is what got me using it in the first place. Which is kind of funny, because in the first version you couldn’t even rotate the device.
But, alongside the speed bump, it also provides GPS, compass and battery control via some good-looking widgets.

BATTERY CONTROL WIDGET

The GPS widget even provides GMaps for selecting mock locations, which is really nice for testing location based apps
Device angle control and Play Store
Through the Genymotion shell it’s also possible to control the device’s angle (accelerometer), but it would be cool to control it using a widget, something like the Windows phone emulator does.

Genymotion devices with Google Apps also come with the Play Store preinstalled. This comes in handy if you want to test an app from the Play Store quickly.
Multiple screen sizes
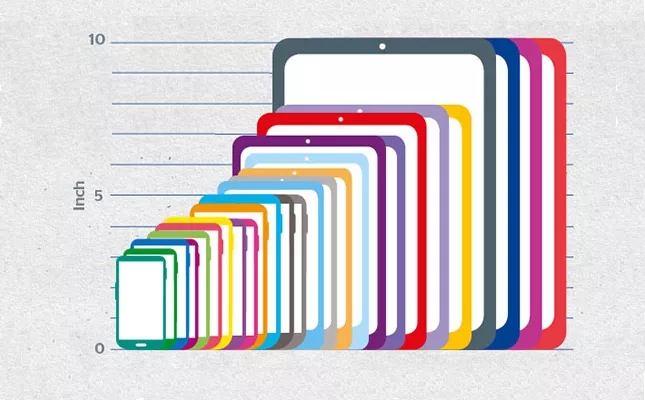
Multiple screen sizes are one of Android developer’s worst nightmares. There is a huge number of different screen configurations of Android devices.
Genymotion, as well as the default emulator, offers custom configuration of device’s screen. In the list of available devices, select the device for which you want to change screen configuration and click on the monitor icon on the right side. Then simply select one of the predefined screen resolutions or create your own.
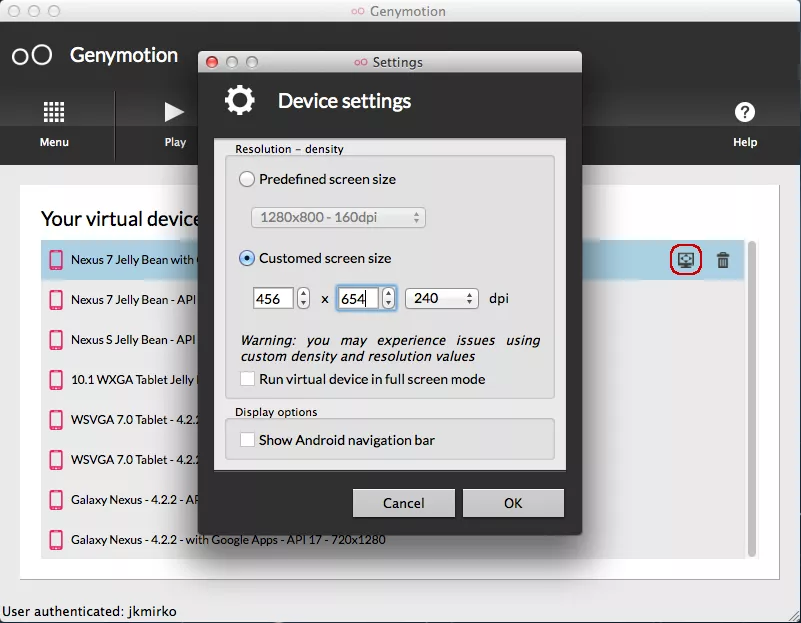

Be careful when choosing resolution, because you may end up with something rather strange
Where it comes short
The main setback of Genymotion is that it only provides devices with API version 16, 17 and a preview version of Android 4.3 (API 18). If we take a look at Google Dashboard, we’ll see that Gingerbread still holds about 33% of all devices (API 10).
So, for testing on that platform you still need either a default emulator or real device, which kind of defeats the purpose of Genymotion as a testing platform.
And there is no camera, which I don’t miss, but could be really useful.
In the future, we can expect even more features, like taking screenshots or video screen capturing (which would be great for making demonstration videos). An accelerometer widget would be cool, and even a camera would be nice, but we can only wait and see.
Final thoughts
Well, you can never really get rid of real devices, because you’ll always want to test an app on a real device before releasing it. But during development I recommend using a Genymotion emulator. Even though it doesn’t cover all major Android OS versions. It’s fast, stable, the GPS sensor manipulation is awesome and with the device rotation feature added to the 1.1.0 version – it’s truly the way to go.
Also, deploying apps is almost instant and that can save you a lot of time when you’re doing small changes to the app. But you have to watch out since the Genymotion emulator runs faster than real devices themselves, giving you a false impression of the performance of the app.
Always test on a real device!